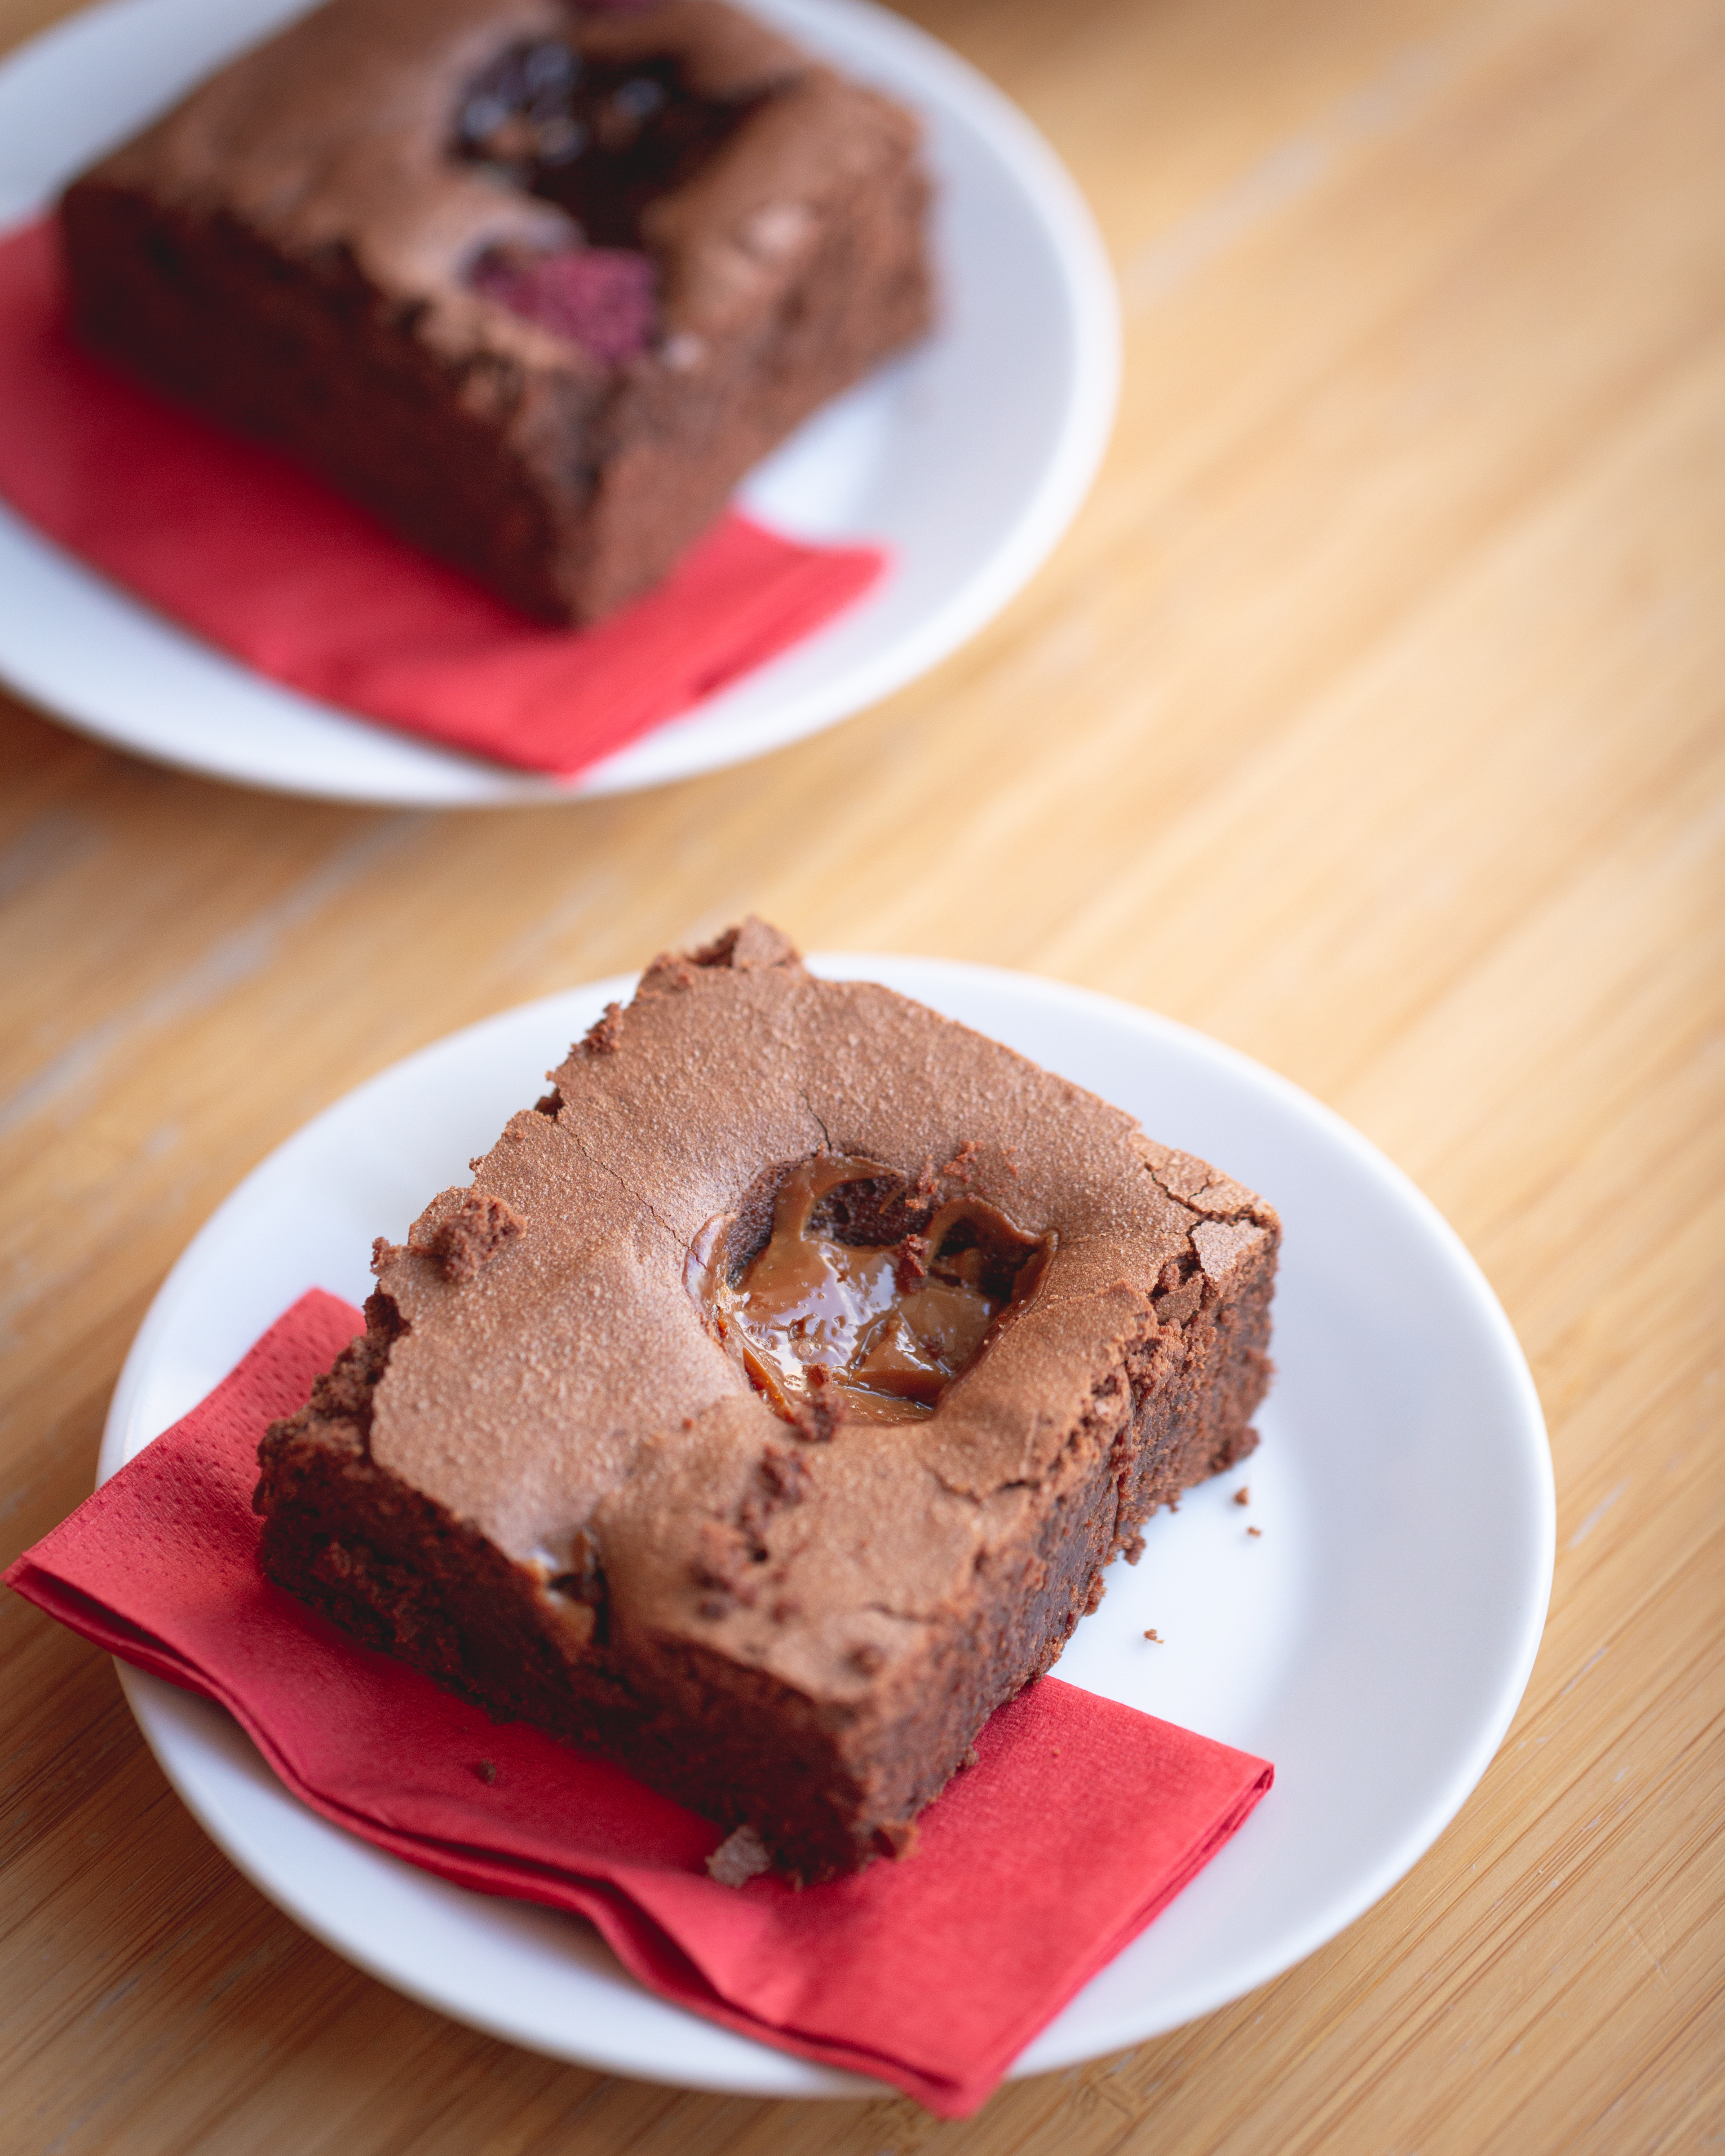
This is the basic brownie recipe we use for some of our brownies in the shop. It’s a mixture between cakey and fudgey so creates the perfect base for lovely, gooey pockets of caramel in every portion. What’s not to like?
It’s worth noting, If you’re looking for a chewy American style brownie, this isn’t the recipe for you! There are loads of brownie recipes out there and loads of methods, but this one works for us every time.
You’ll need:
250g dark chocolate (we use 70% cocoa solids) chopped up so it melts quickly
250g unsalted butter (chopped)
300g caster sugar AND 50g light brown sugar (but 350g of caster is fine if you don’t have both)
5 large eggs (We always use free range. It really does make a difference)
75g plain flour AND 75g self raising flour (see handy hints for more info on flour)
1/2 tin of ready made caramel (we may share our recipe in a different post)
You’ll also need a 13 x 9 standard traybake tray, lined with grease proof paper. You’ll also need a hand held mixer or stand mixer with paddle attachment or a strong mixing arm, a bowl, a whisk and a little patience. All options work really well!
This is what you do:
Get the oven on at 165c and line your traybake tray. Next get your chocolate and butter in a heat proof bowl and melt really slowly over a pan of just simmering water. Don’t let the water touch the bottom of the bowl and don’t be tempted to whack up the heat to get it done faster. It won’t end well! Take it off when everything is almost melted. The heat of the bowl will do the rest and you won’t risk over heating it. The chocolate really needs to cool a little (see handy hints) so as difficult as it is, don’t rush this stage!
While it’s melting, weigh out your other ingredients. If you’re trying to minimise the washing up, put the eggs and sugar into the bowl that will eventually hold everything and weigh the flours together into another small bowl.
Whisk the eggs together with the sugar. You’re looking for the mixture to get lighter in colour and look a bit creamy (you know the thick stage cream to gets when you’re whipping it, just before it’s ready? That’s what you’re looking for but don’t fret, it’s not a disaster if it’s not quite like that!)
Next, add the melted chocolate and butter mixture to the egg mixture and mix on low until it comes together (the moment when the split looking, rather grainy mixture comes together into a smooth glossy bowl of loveliness is still one of my very favourite baking moments)
Lastly, Add in the flour and mix on low until all the flour is mixed in then scrape the mixture into the traybake tray. I’m not a patient woman, so trust me when I say take some time to flatten the mixture off and make sure it’s into the corners and even, other wise you will end up with thin, biscuity corners.
Finally dot teaspoons of caramel all over the traybake, making sure there’s at least one blob in every portion. Next swirl the edges of each blob a wee bit. You don’t want to mix it in completly as you want pockets of caramel, you just want to create a swirly pattern so people can see it’s got caramel in it!
Bake on the middle shelf for 25 mins then check. It may need more time. Baking time is really the only remotely tricky part of this recipe. If it’s under baked it will be too wet and if it’s over baked you’ll end up with a dry, but still tasty chocolate cake, not a brownie. So, here’s what we do. After 25 minute insert a skewer into the centre of the brownie (try to hit brownie, not caramel) if there are one or two damp crumbs on the skewer, it’s ready. If there’s any wet batter at all, it’s under done, so put it in for 5 more mins and check again.

Handy Hints:
This recipe is all about the chocolate so do look for 70% cocoa solids. You’ll get it in the baking section of the supermarket. It will make all the difference, I promise.
Melt the chocolate slowly and gently and take it off before everything is melted and let the heat of the bowl do the rest. Ideally leave it 10 mins (take the time to line the tin, weigh out ingredients etc). If the chocolate is too hot, you’ll end up with a runnier mixture and it won’t hold the pockets of caramel and it will disappear into the brownie! Not the end of the world, but not a caramel brownie either!
If you prefer a fudgier brownie, use 150g of plain flour and not half plain, half self raising. We find the half and half mixture Is the perfect base for holding pockets of caramel or other add ins.
You can use gluten free flour. The texture will be slightly different but still lovely. We use Doves Farm Gluten free self raising flour.
Never go by time alone when baking. Every oven is different so always do a skewer test. I’m not a fan of underbaked brownies. Slightly fudgey is great, but raw is not good at all.
Once you’ve nailed this recipe, you can use it as a base for lots of different flavours and add ins.
The caramel brownie is also lovely sprinkled with a little flaked sea salt before eating. But just a little.
This brownie is at its absolute best on the day it’s baked and it’s still really good the day after. You’ll get another day out of it if you keep it wrapped well in a cool place but on day three you might want to warm it though in the microwave and have it with some cream or ice cream.
Leave a Reply